Simple DIY Star Wars Mickey Ears Tutorial
Simple DIY Star Wars Mickey Ears Tutorial
In this Simple DIY Star Wars Mickey Ears tutorial, we will be going over the steps to create a quick and simple pair of Star Wars Mickey Ears. For this tutorial, we will be taking a cheap pair of off-the-shelf ears and modifying them to use interchangeable slip on covers. This is a great technique because you can make multiple slip covers for the same set of ears and change them out whenever you want.Step 1: Gather Your Materials!
Tools you will need
Scissors | A Box Cutter or X-Acto knife | A Sharpie | Needle and Thread | A Ruler
Materials you will need
A cheap Minnie Headband | Fabric | Scrap Cardboard
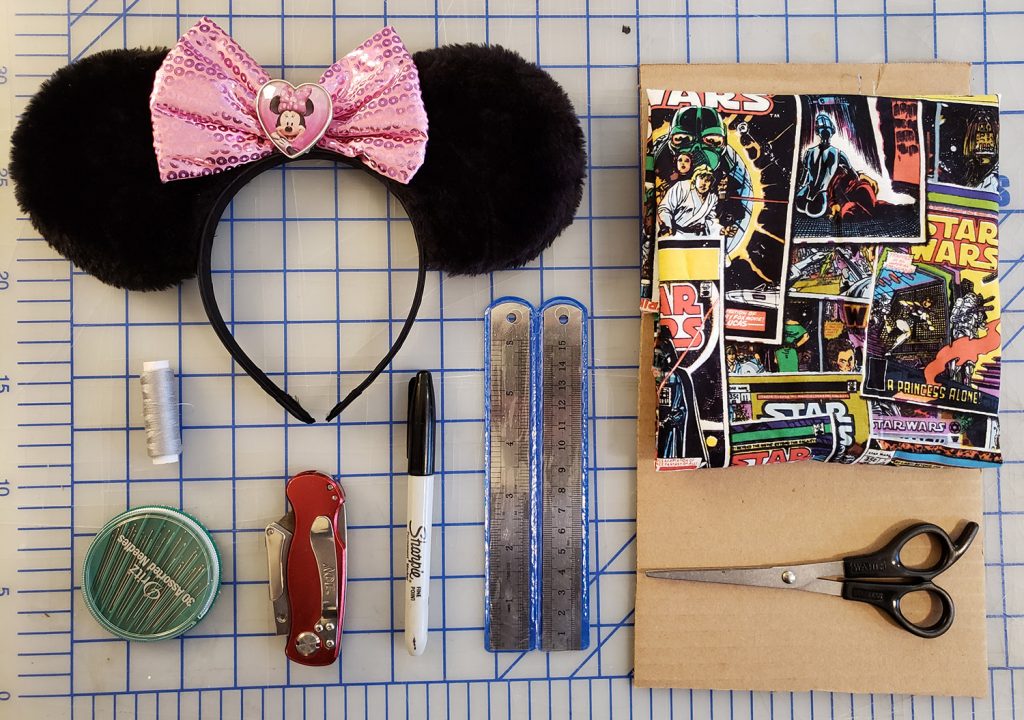
Gather The Materials
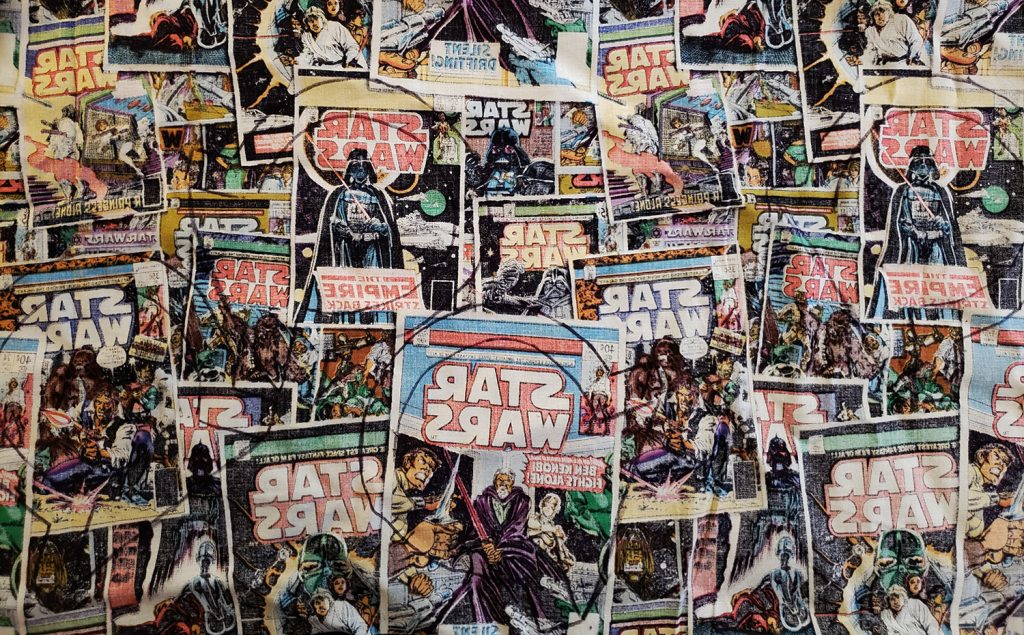
For the fabric, you can go to JoAnn Fabrics, Michaels, Hobby Lobby or even Walmart. If you don't want to bother with having a roll cut down to size, you can check their selection of "fat quarters".
Fat quarters are pre-cut quarter yard lengths of fabric that are cut slightly wide, hence the "fat" part. These are intended for quilters, but they are also perfect for Mickey Ears!
Walmart had all of their Fat Quarters on sale for .97 cents. What a deal! If you aren't able to find what you like locally, both Amazon and eBay have loads of Star Wars patterns.

Step 2: Make A Template!
The first thing you'll want to do is cut off the Minnie Heart and pink bow. The heart was sewn to the bow so I cut that off with scissors.The bow was hot-glued in place so a little bit of careful cutting and it was off as well. I saved the bow to be used on another set of Mickey Ears later on.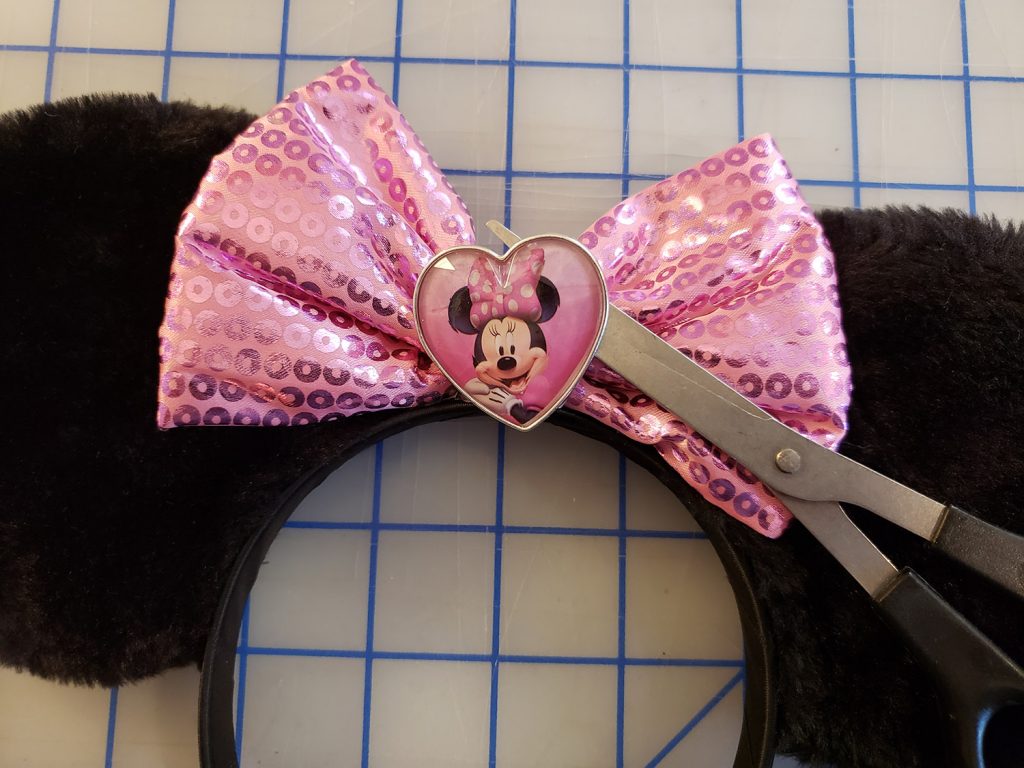
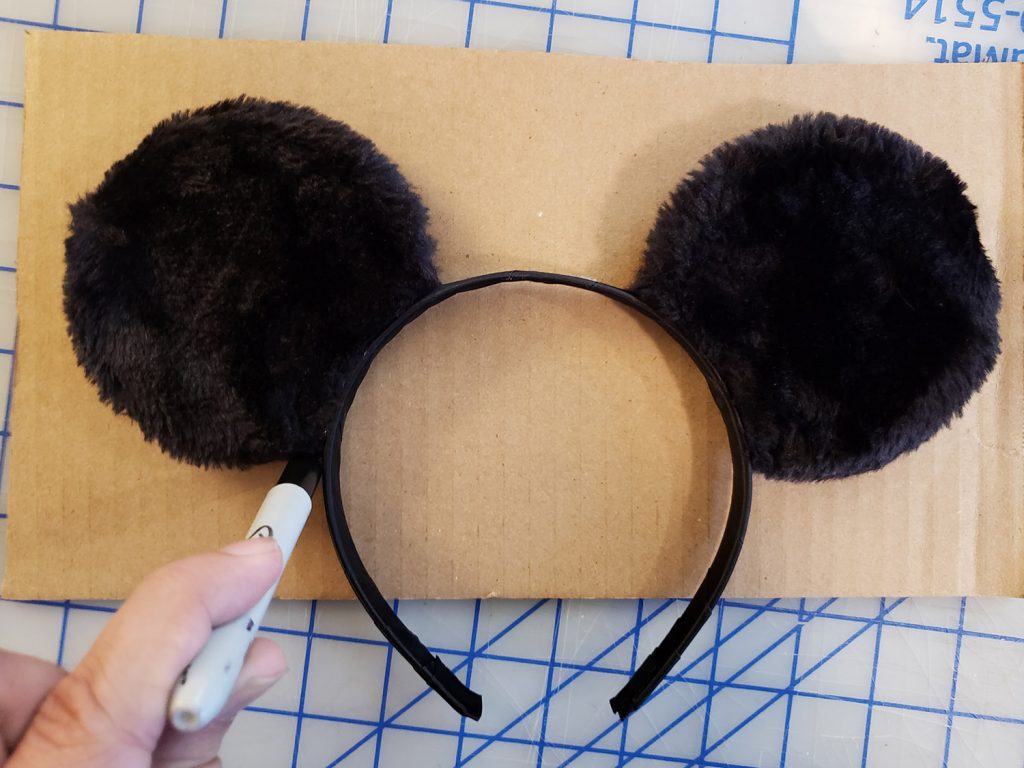
Make A Template
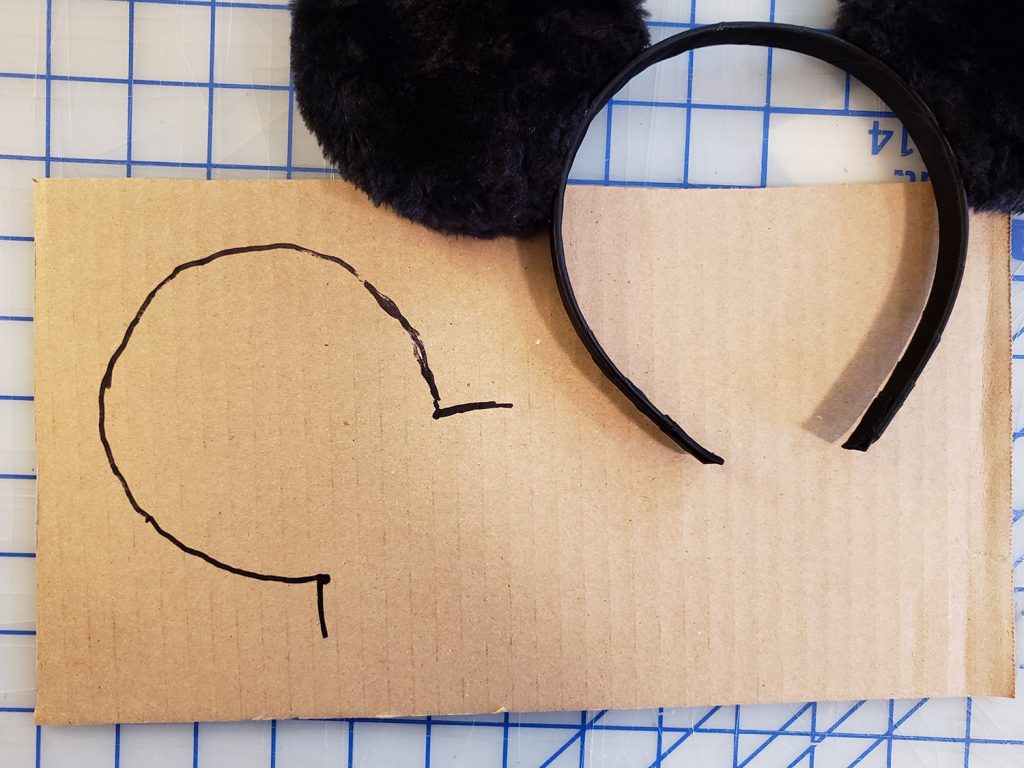
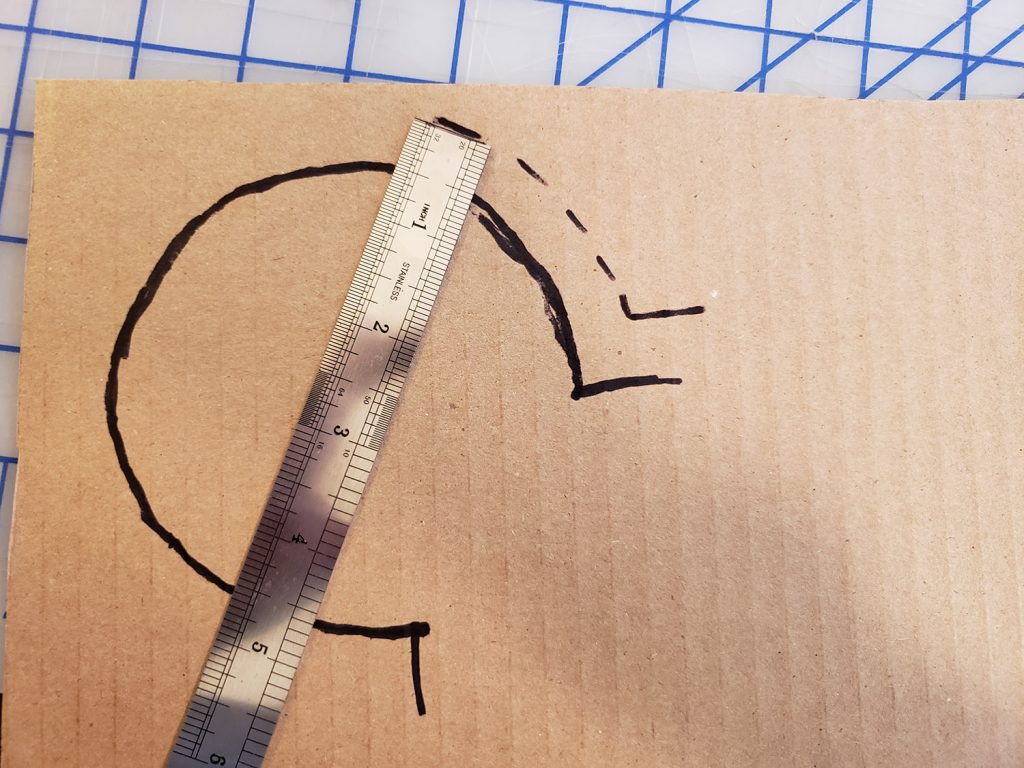
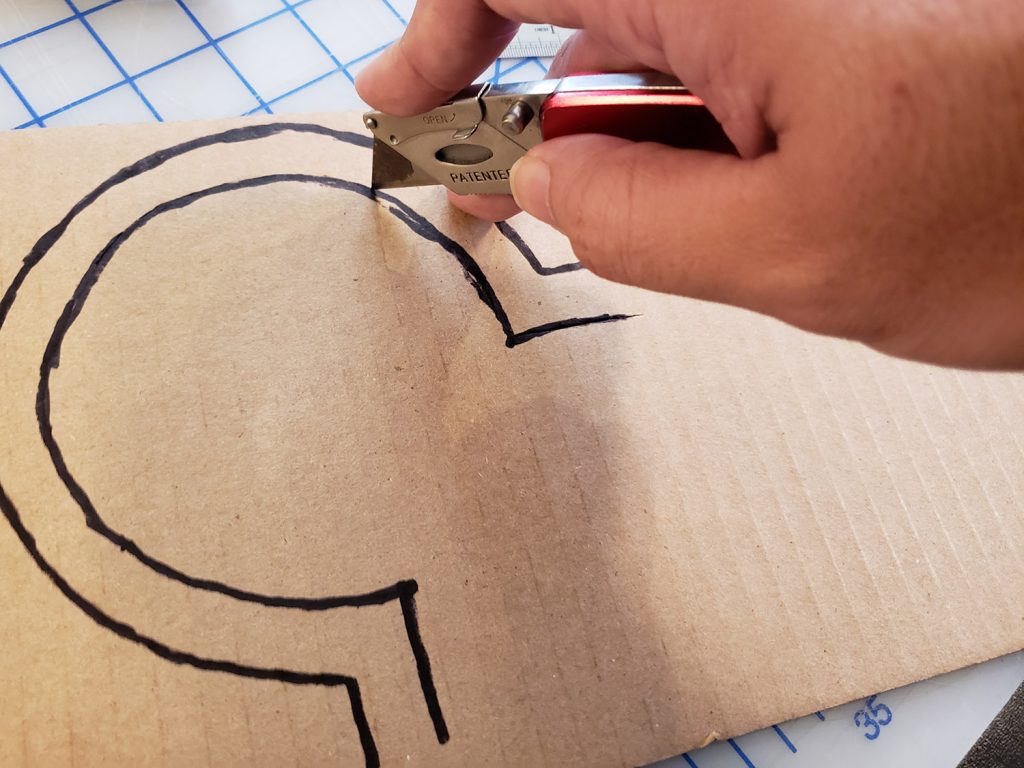
With the bow removed, the next step is to trace your ears onto cardboard to make a template. Keep your Sharpie straight up and down as you trace around the ears for the best result.
Step 3: Cut And Sew The Fabric!
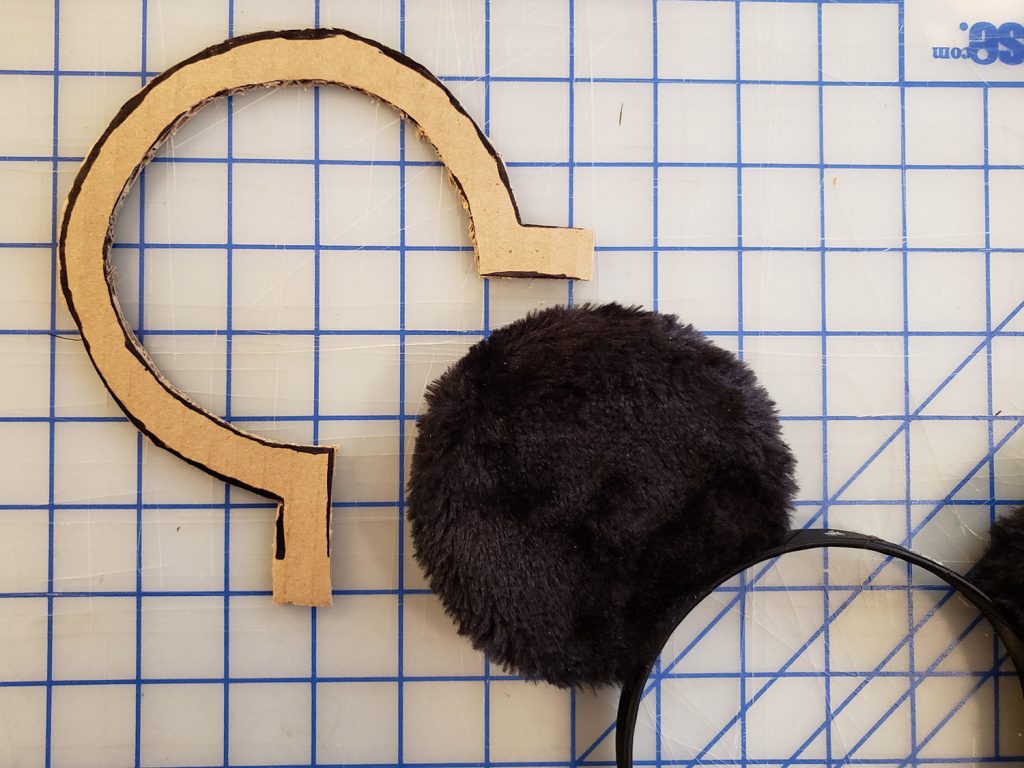
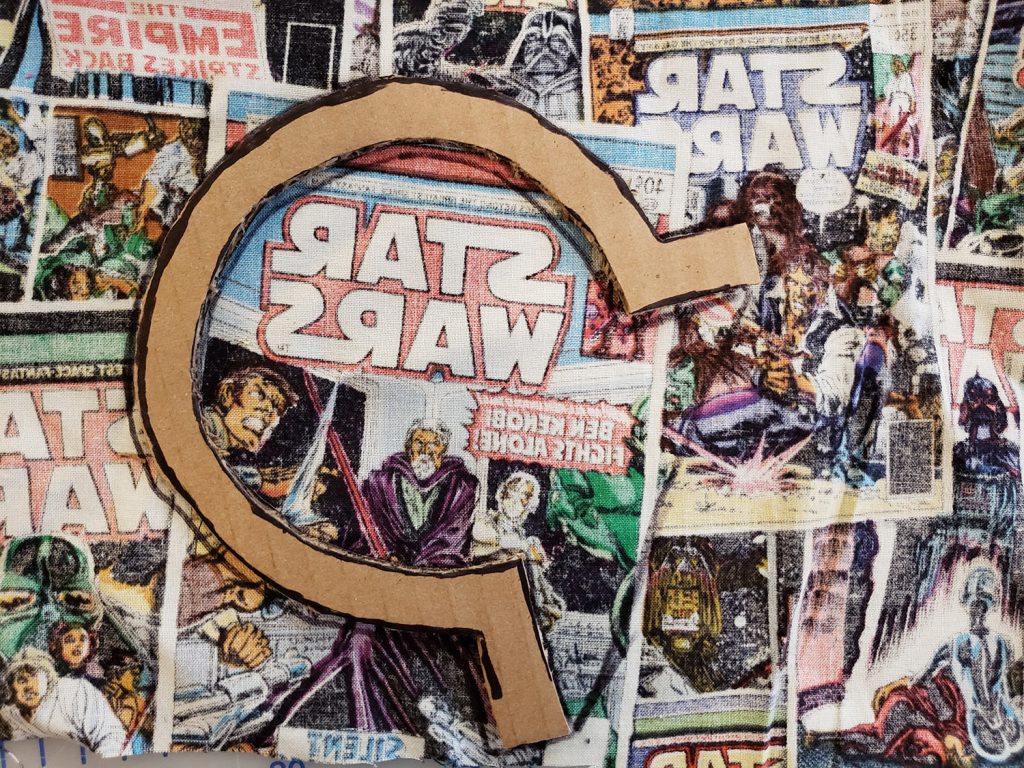
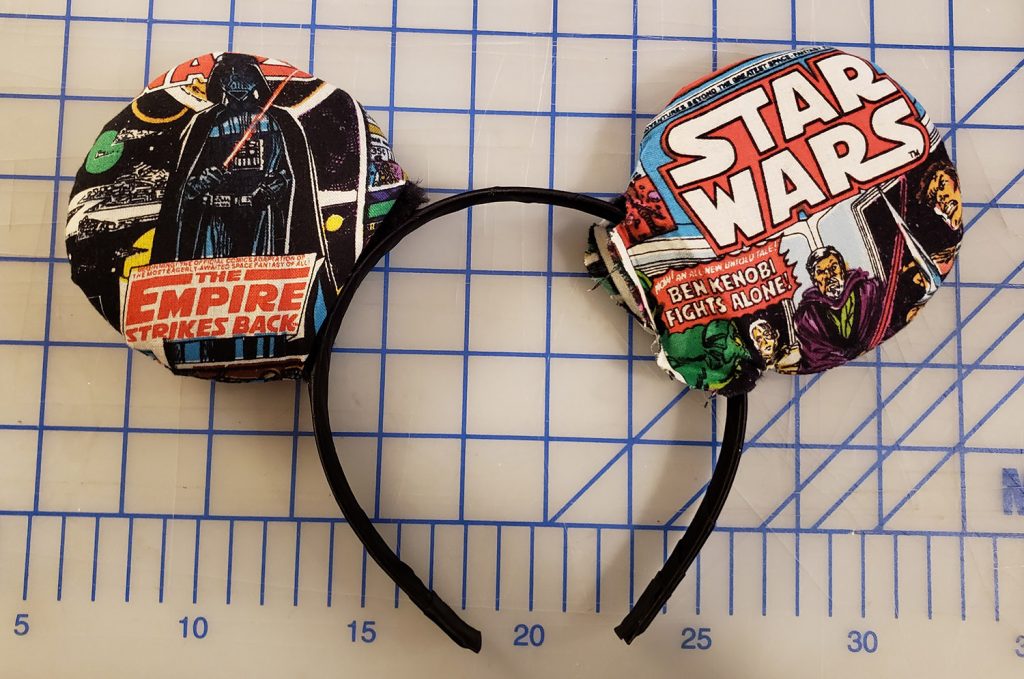
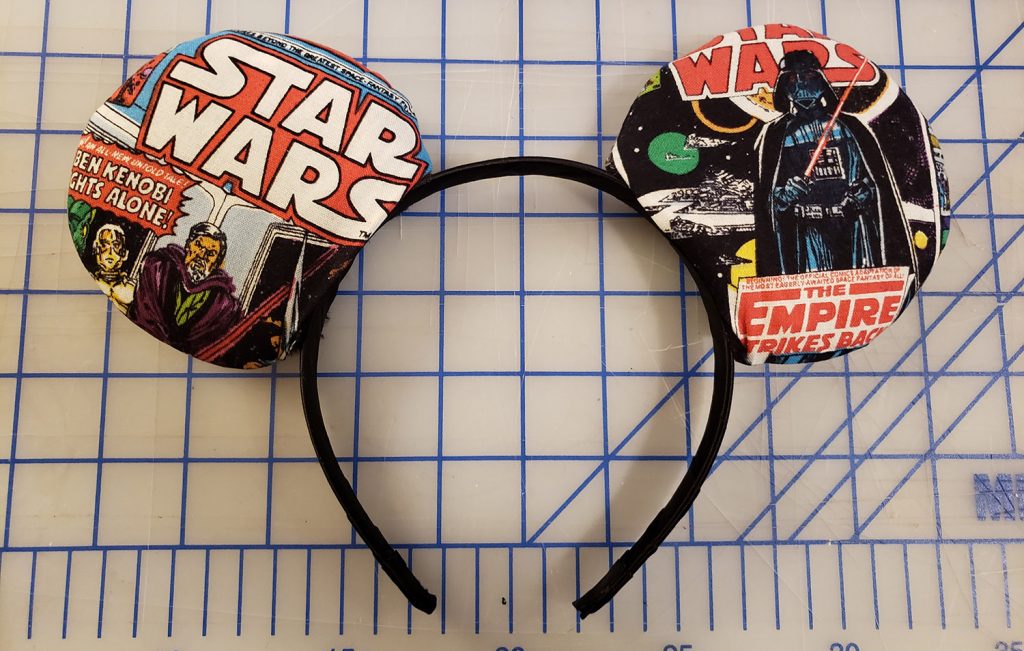
Now that you have your template, it's time to pick out what parts of the fabric you want to use. If your fabric is just a repeating pattern you can plan if you want the pattern to be vertical, horizontal or diagonal. In my case, I need to pick out what parts of the comic print to use. I decided to go with Ben Kenobi and Darth Vader on the front with Han Solo and Chewie fighting Darth Vader on the back.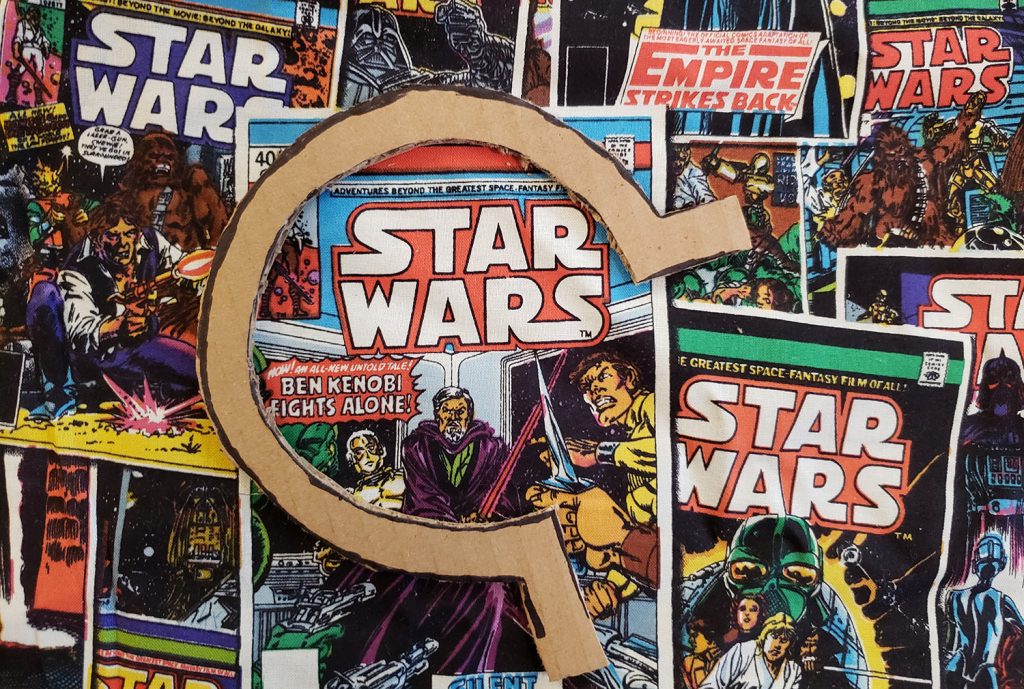
Cut & Sew The Fabric!
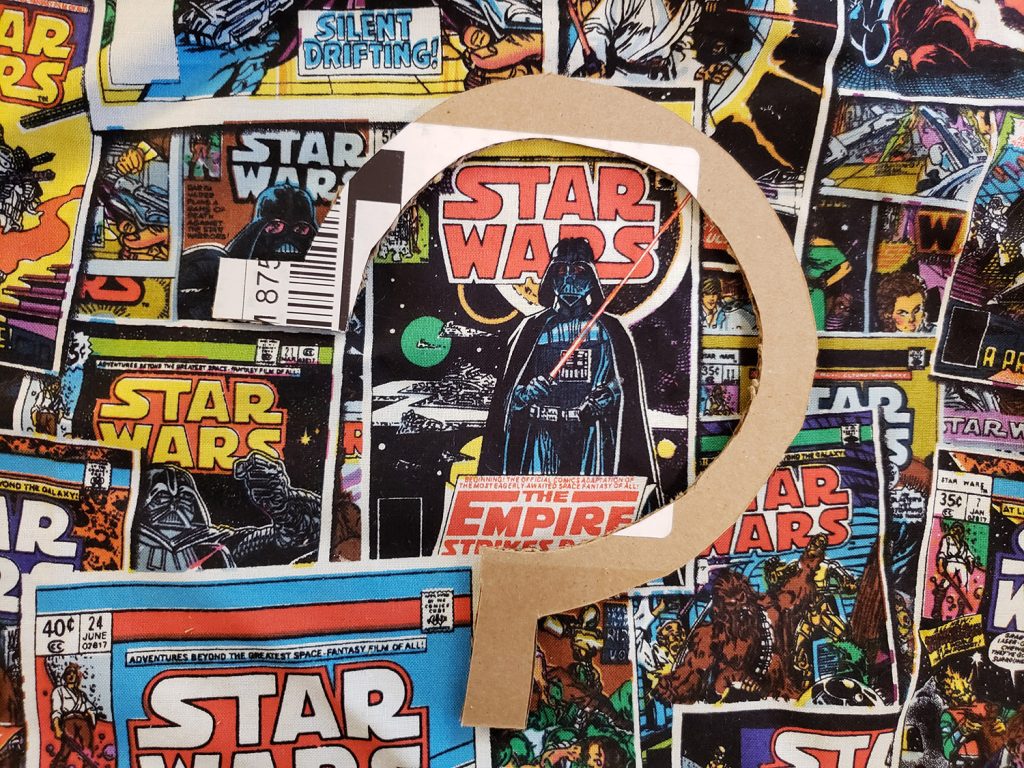
When you've figured out the pieces of fabric you want to use, flip the quarter over and trace the inside and outside of your cardboard template on the back side of the fabric.
I also like to draw a straight line from one corner to the other. This outside line is going to be your cut line and the inside line is going to be your sew line.
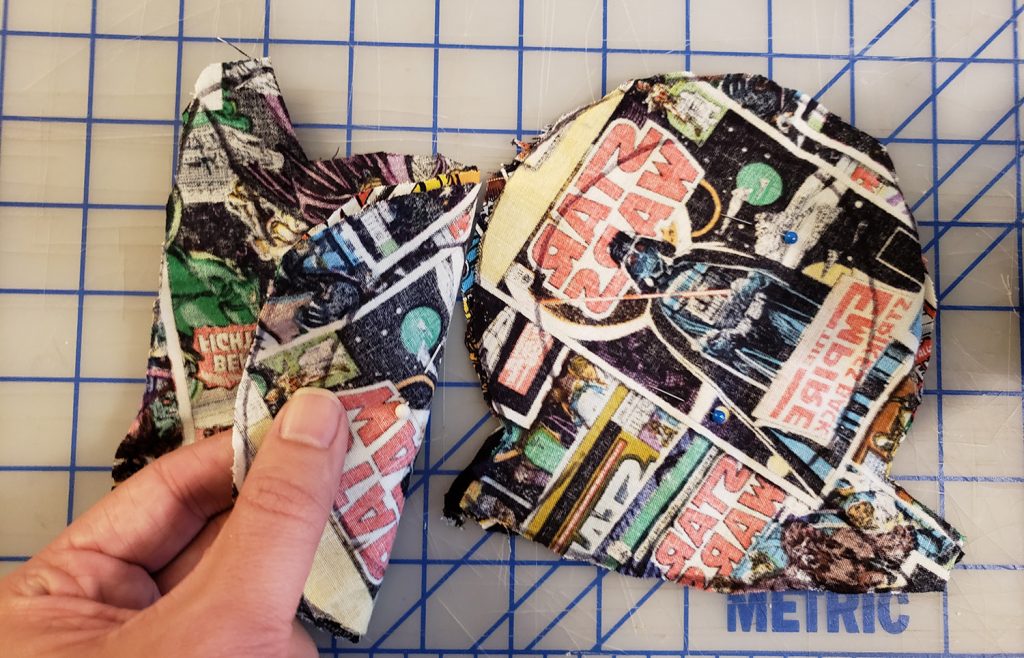
Line Up Your Pieces Inside Out
Time to sew!
If you have a sewing machine this part is a piece of cake. Just follow the sewing line from your pattern. If you are using a needle and thread, the process is the same. Just take your time sewing all the way around the sewing line. Make sure to keep your line as straight as you can since irregularities in the line will mean an oddly shaped ear.
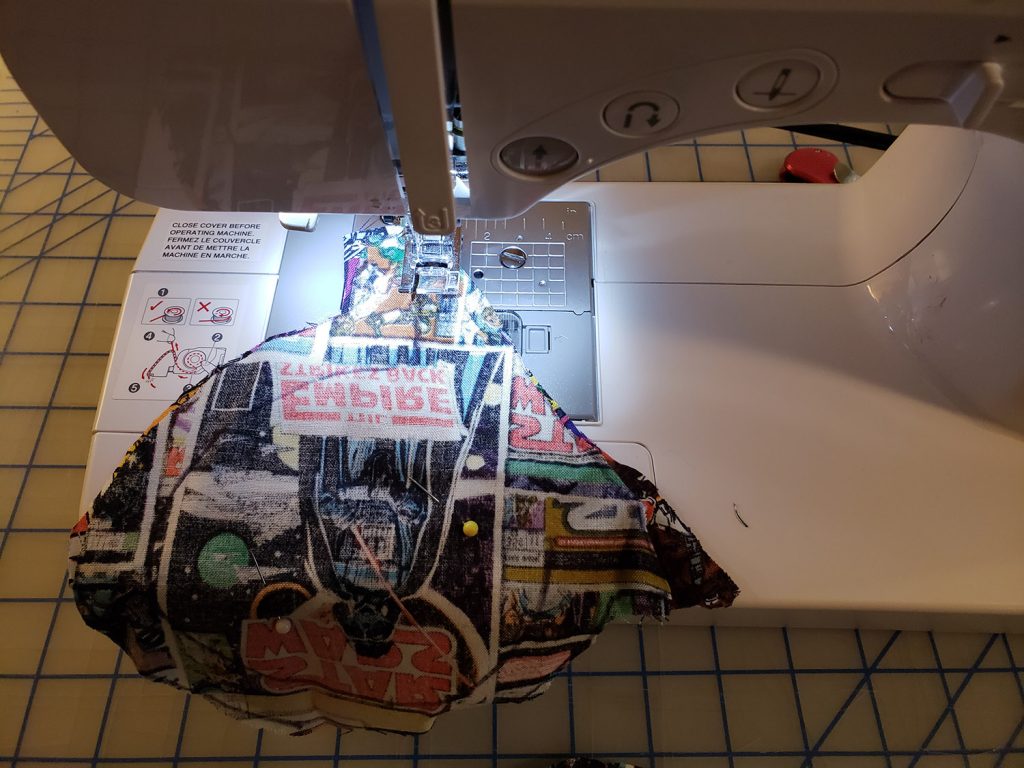
Time To Sew!
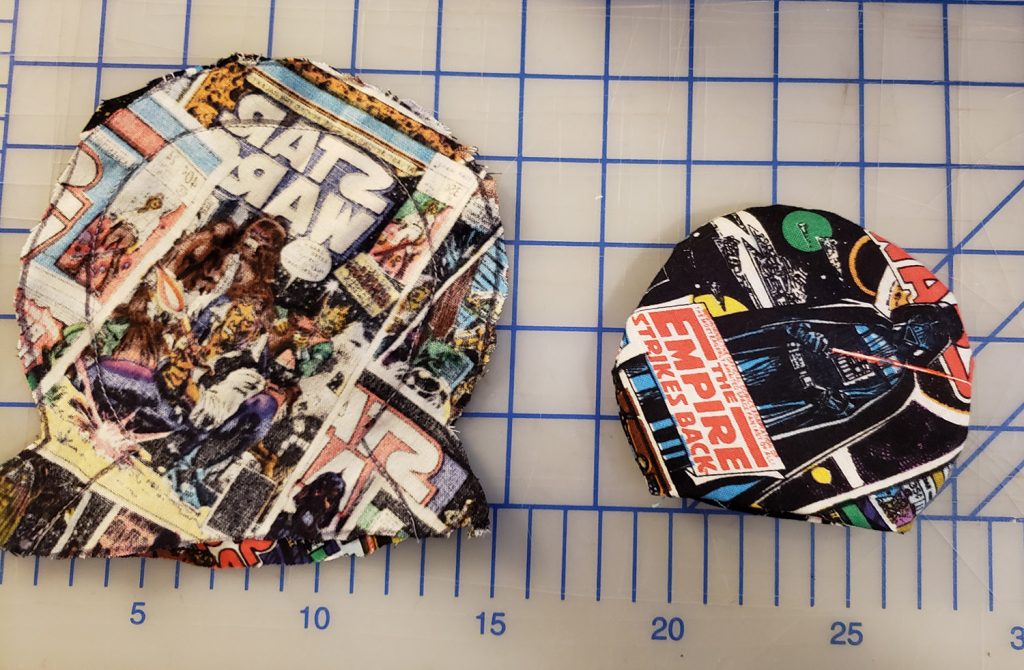
When you're done, your sewn ear should look something like this. Now turn the ear inside out and admire your work!
Step 4: Fit The New Ears!
Now all that's left is putting the ear slips onto our existing ears! Gently bend the ears in a U-shape and wiggle them into the slips.
Fit The Ears!
You may need to pull the extra fabric out to help get the ears fully inserted into the slip covers.
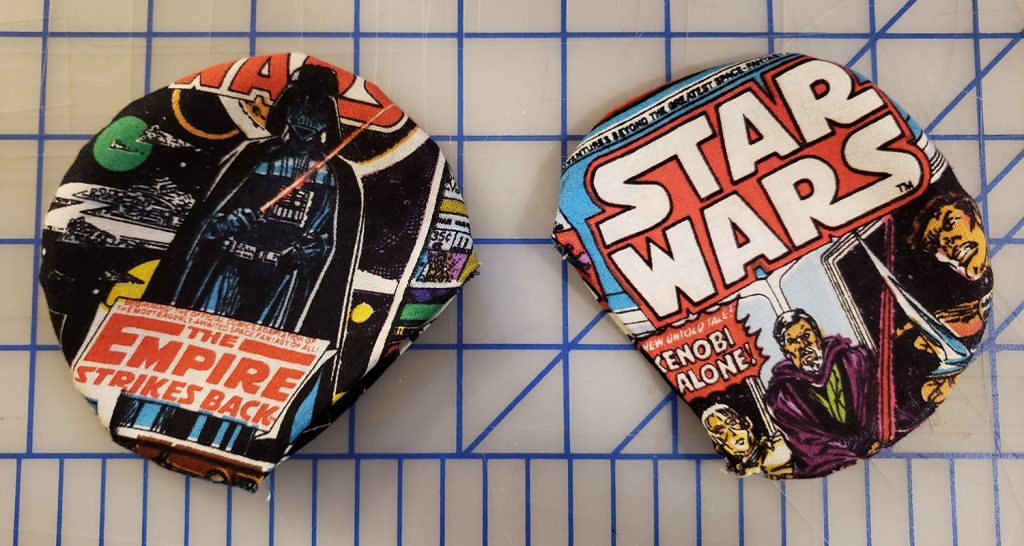
Done!
I hope this simple DIY Star Wars Mickey Ear tutorial was helpful. If you make a pair, we would love to see pictures! If Winnie The Pooh is more your style check out our Winnie The Pooh Tutorial.
If you have any tips or tricks, feel free to leave a comment below!
Related Posts


One Response to “Simple DIY Star Wars Mickey Ears Tutorial”
Leave a Reply
You must be logged in to post a comment.
Pingback: UPDATED: How to Make Your Own Mickey Mouse Ears